
DECEMBER 13, 2020 CINNAMON STICK CHRISTMAS TREE ORNAMENTS
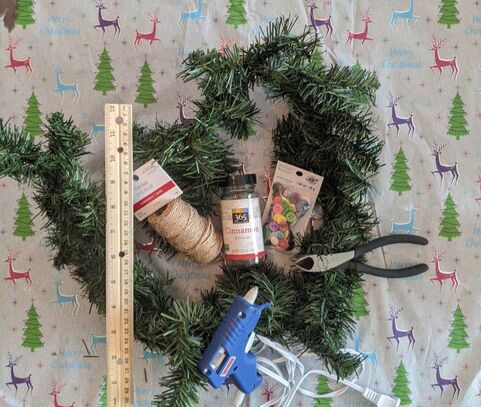
Supplies:
Supplies:
- Cinnamon Sticks
- Pine Garland
- Assorted Small Buttons
- Glue Gun
- Wire Cutter
- Twine
- Ruler
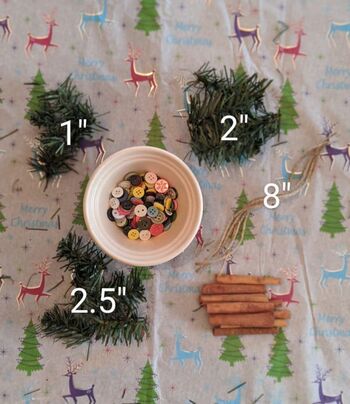
Step 1: Prepare all your materials.
- Plug in your glue gun
- Cut 8" pieces of twine
- Cut 1", 2" and 2.5" pieces of pine garland with wire cutter
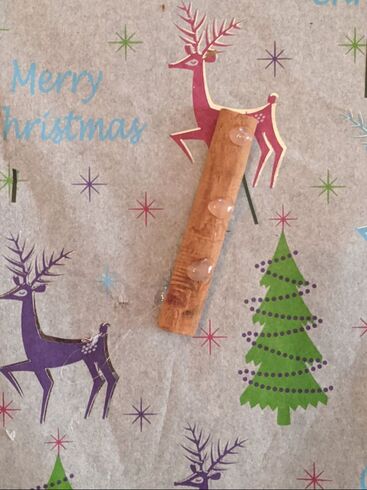
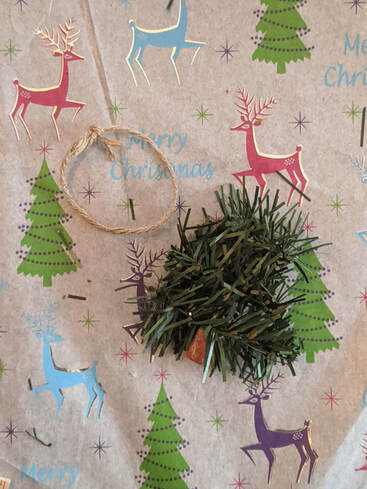
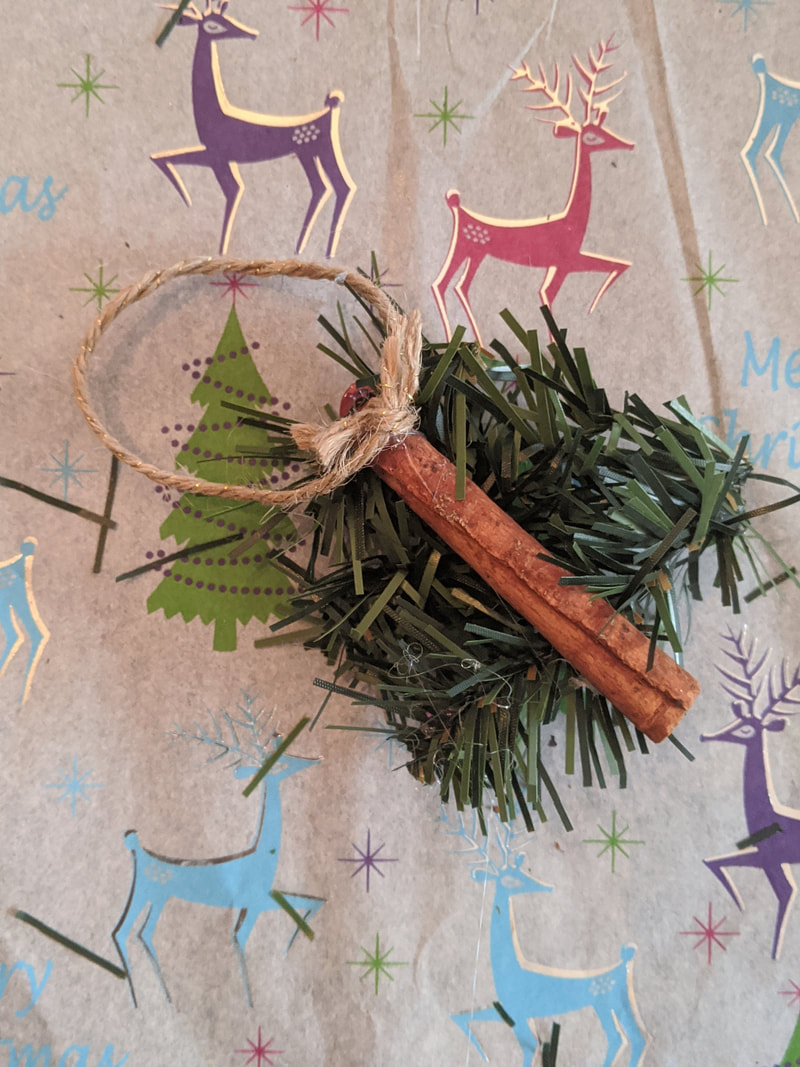
Step 2: Glue the pine pieces to the cinnamon stick. The shortest piece (1") at top, then the 2" piece, followed by the 2.5" piece near the bottom. Leave some space for the trunk. Tie the twine with a knot, and glue twine to backside of the top of "tree."
|
|
|
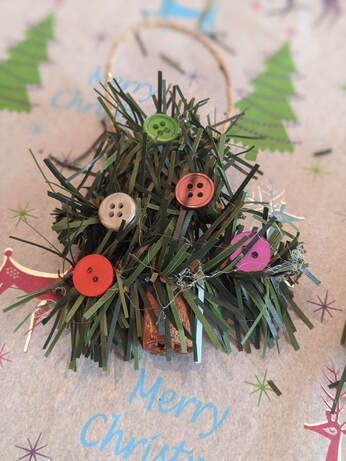
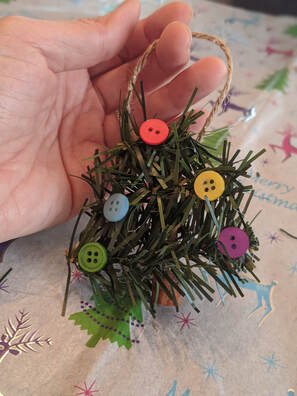
Step 3: Decorate your tree by glueing on your buttons.
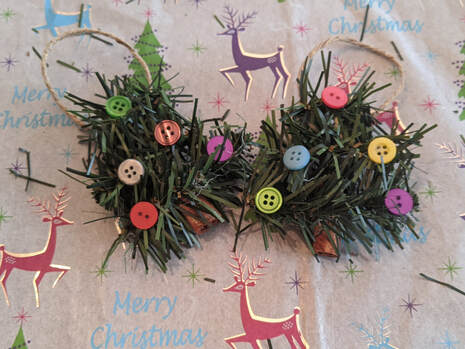
Step 4: Repeat, enjoy on your tree, or give these away as gifts. Happy holidays!
|
|
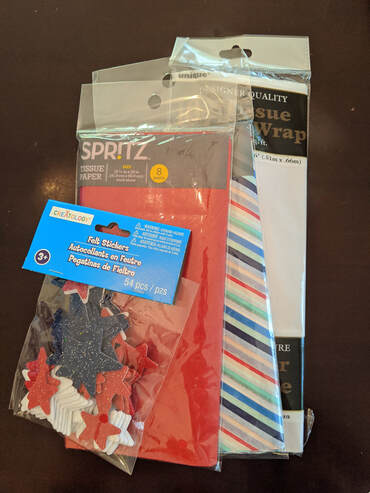
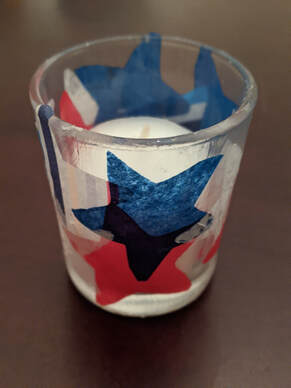
JUNE 22, 2020 PATRIOTIC VOTIVE CANDLE HOLDERS
Supplies:
Supplies:
- Glass Votives (I purchased a set with citronella candles included)
- Tissue Paper (red, white, blue)
- Mod Podge
- Foam Brush
- Star Template
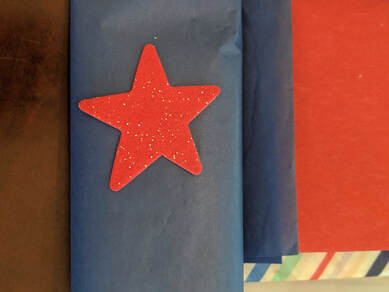
Step 1: Separate out the color of tissue paper you'd like to use, and fold it over several times. Use the star template to cut stars through the layers of tissue paper.
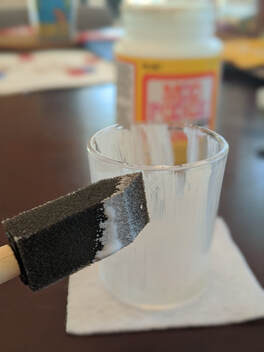
Step 2: Cover the outside of your candle jar with a layer of Mod Podge
Step 3: Add tissue paper stars on the outside of the candle lar. Overlap, or leave some space around to any pattern you like. If the tissues tear, peel off and replace with a new star.
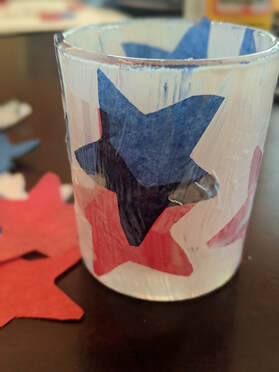
Step 4: Once you have all the stars you want on the candle jar, cover the stars with other layer of Mod Podge to seal them onto the jar. Let it dry completely. Mod Podge will dry clear. Happy July 4th!
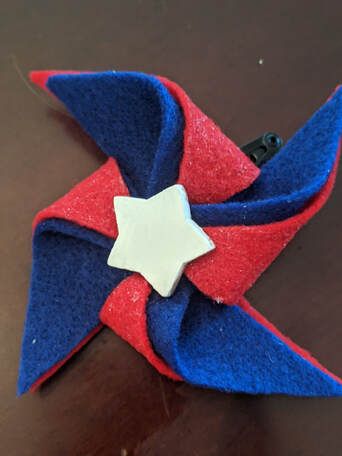
JUNE 22, 2020 JULY 4th PINWHEEL HAIRCLIPS
Supplies:
Supplies:
- Red, White and Blue felt sheets (some come with glitter!)
- Small Wooden Stars
- Hair Clips
- Paint (red, white and blue) and Paint Brush
- Hot Glue Gun
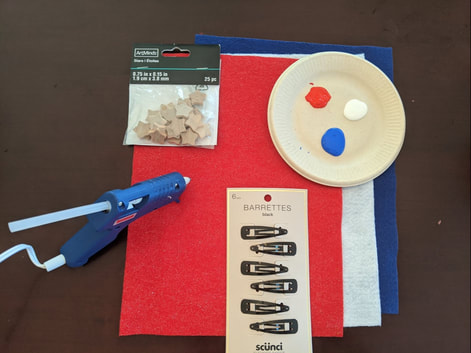
Step 1: Paint your wooden stars red, white or blue

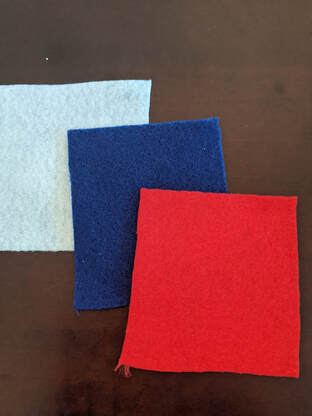
Step 2: Cut 3" x 3" squares (each pinwheel uses two different colored squares)
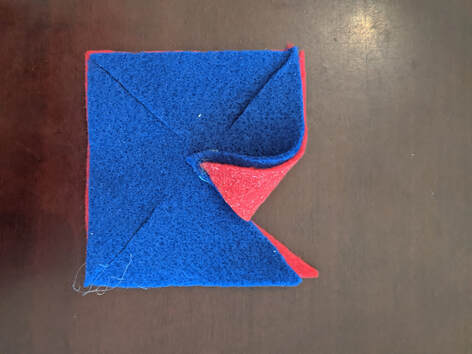
Step 3: Put together the two colors for our pinwheel. Cut 1.5" slits at each corner towards the center (do not go all the way in)
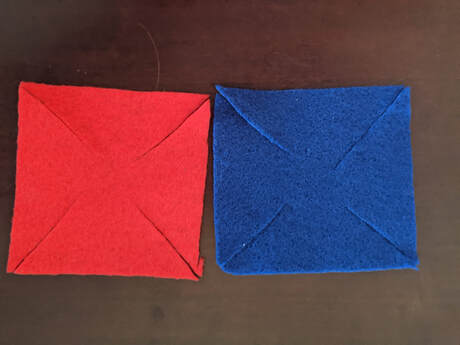
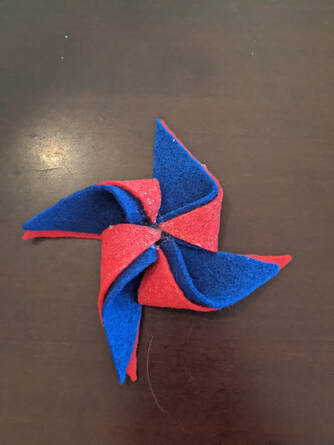
Step 4: Bring every other corner to the center - gluing them down with the glue gun as you go. Watch your fingers with the heat of the glue.
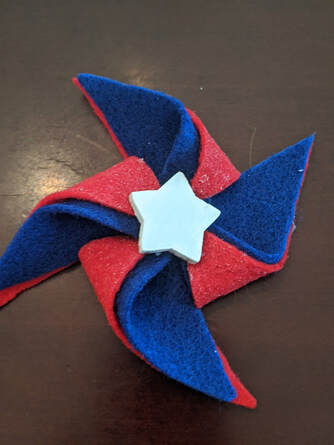
Step 5: After all four corners are glued down, take your start and glue it on top
|
|
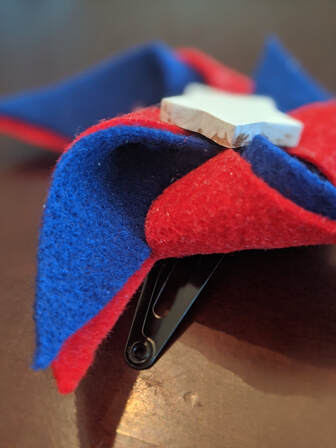
Step 6: Put hot glue on the top of your hair clip and place the pinwheel on top. Happy July 4th!
|
|